What Is Pediatric Therapy? – An Overview for Parents
As parents, we all want to see our children grow, learn, and thrive. Sometimes, kids may need a little extra support to reach important developmental milestones. That’s where pediatric therapy comes in.
What Is Pediatric Therapy?
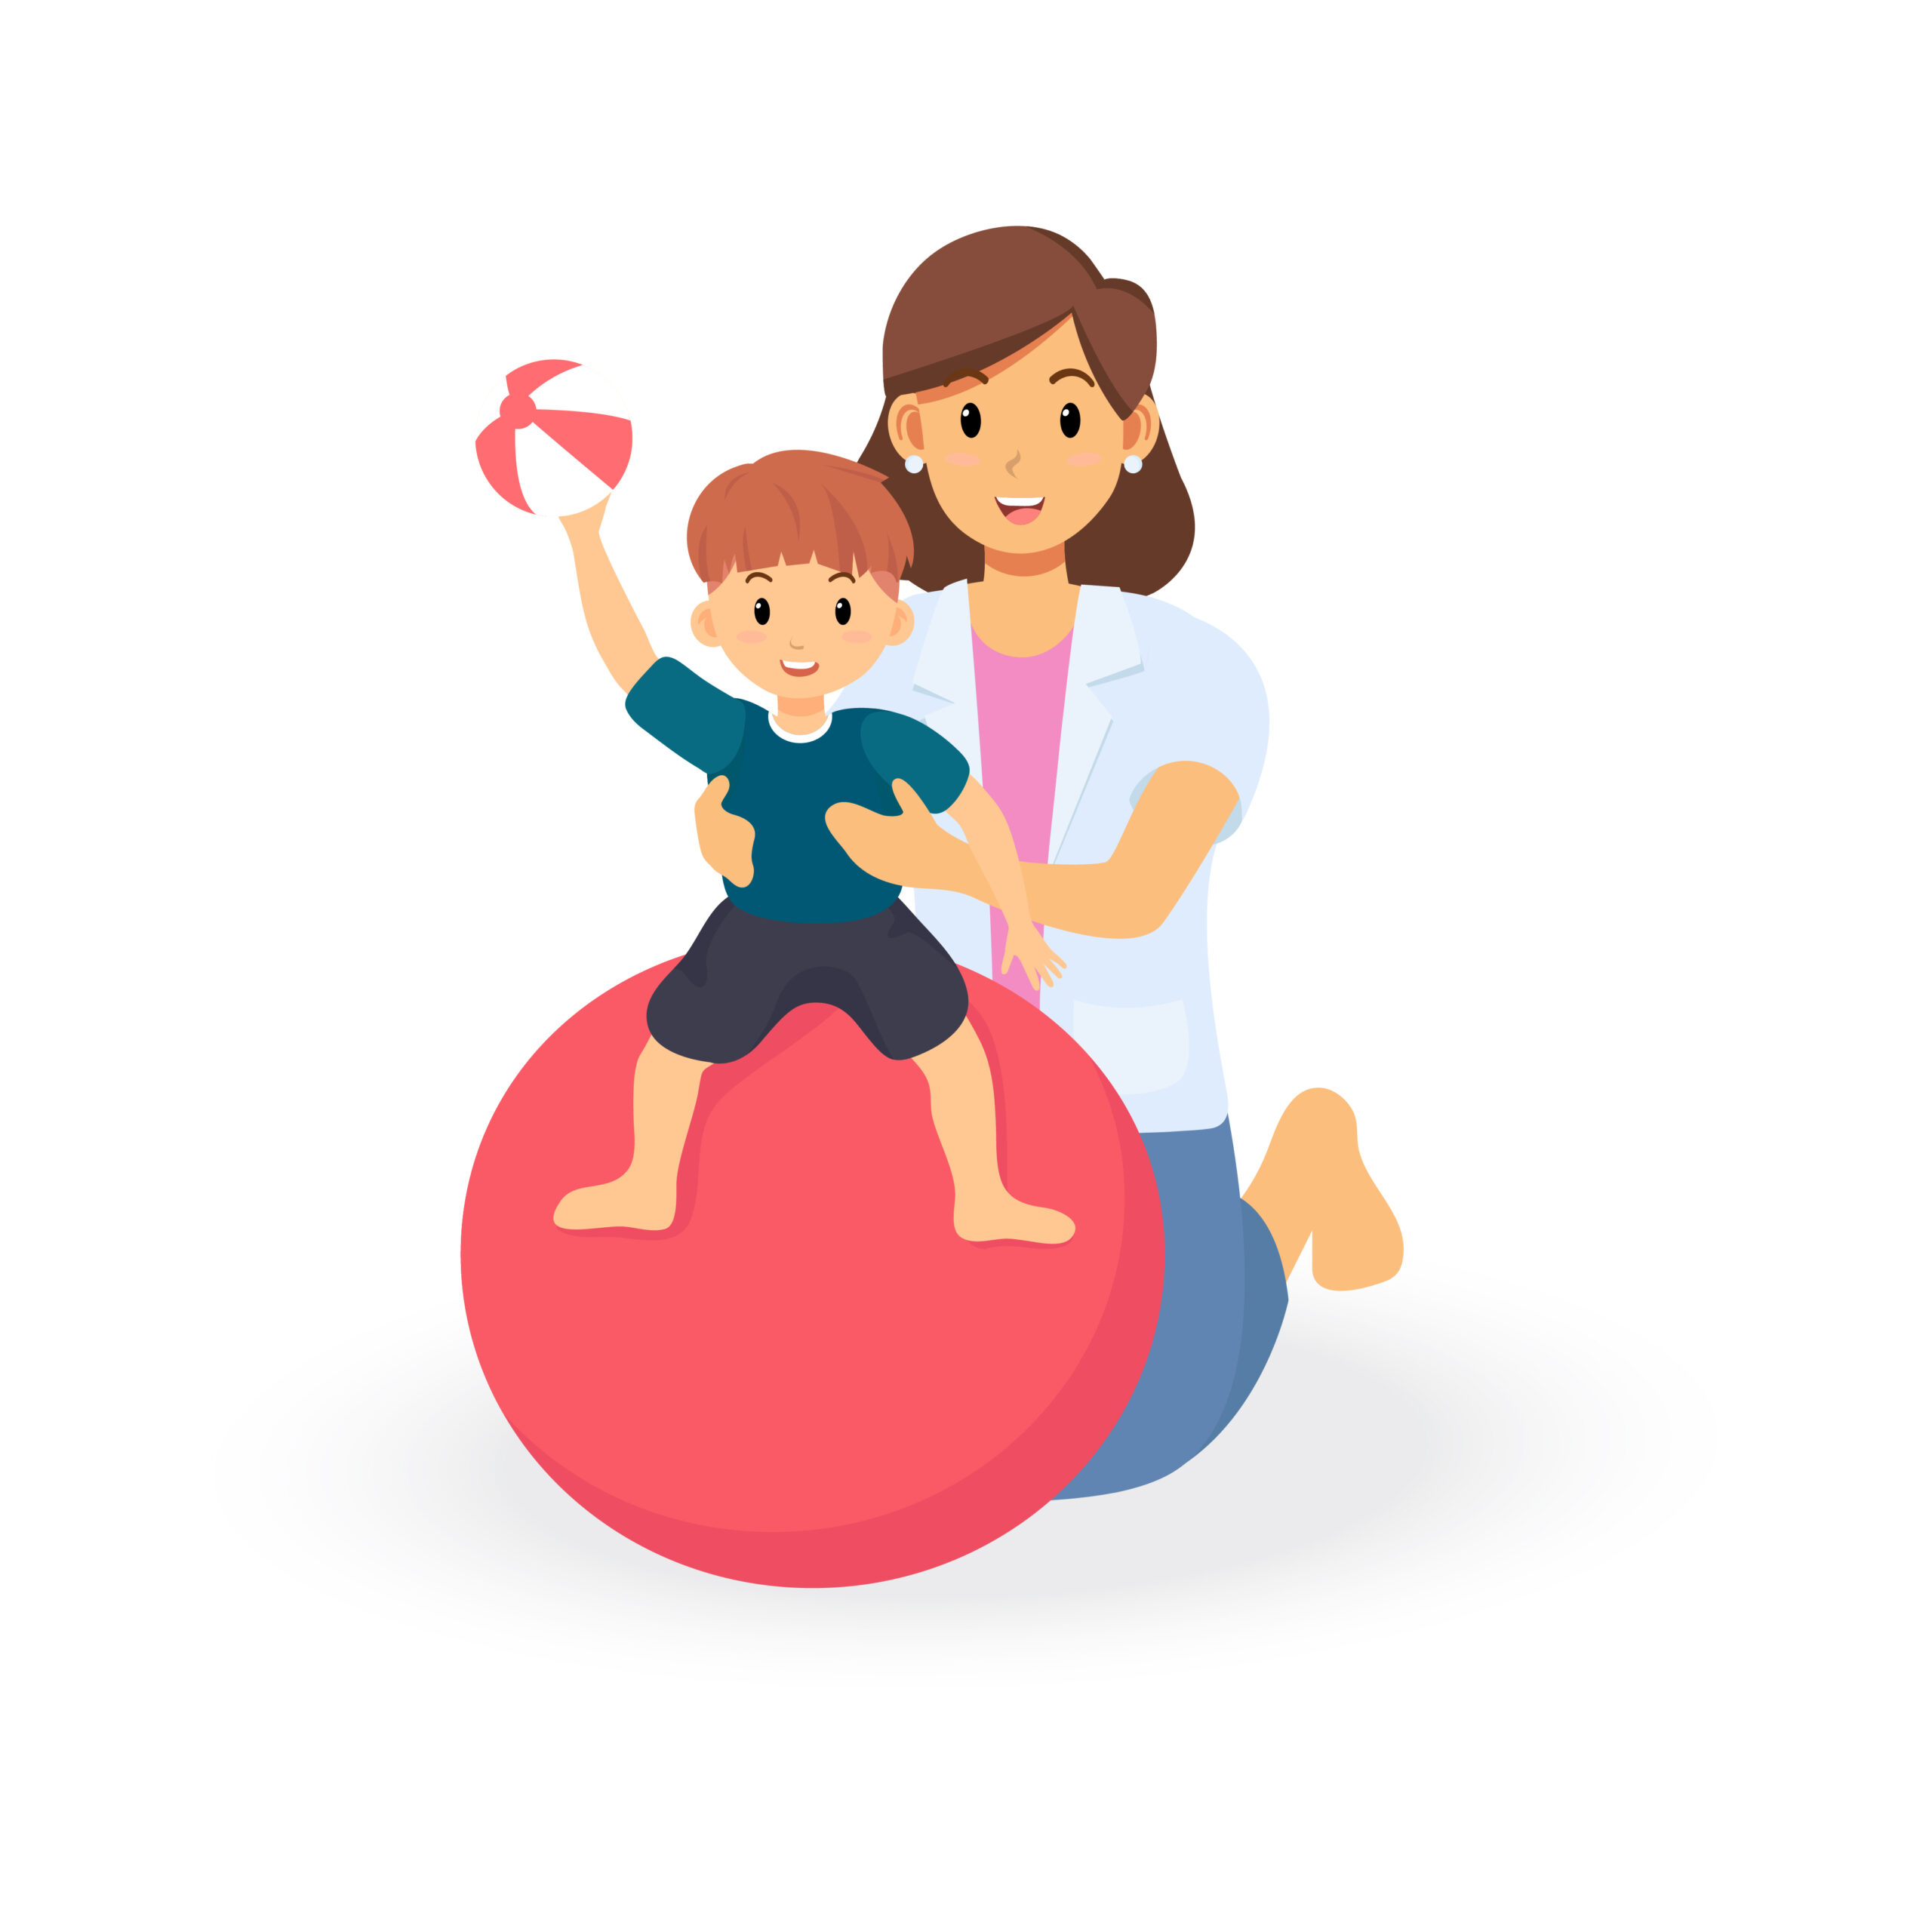
Pediatric therapy is a specialized form of healthcare designed to help children develop the skills they need for everyday life. It supports kids from infancy through adolescence who may face challenges due to developmental delays, medical conditions, injuries, or disabilities.
Therapy is always personalized—meeting each child at their level while focusing on play, fun, and building confidence.
Types of Pediatric Therapy
There are several branches of pediatric therapy, and many children benefit from a team approach:
-
Pediatric Physical Therapy (PT): Helps with strength, balance, coordination, walking, posture, and gross motor skills. PT is especially helpful for conditions like cerebral palsy, developmental delay, or recovery after injury.
-
Pediatric Occupational Therapy (OT): Focuses on fine motor skills, hand-eye coordination, self-care tasks (like dressing or eating), and sensory processing challenges. OT helps kids become more independent in their daily lives.
-
Pediatric Speech Therapy (SLP): Supports communication, language development, feeding, and swallowing. SLPs work with children who have difficulty speaking, understanding, or expressing themselves.
Why Pediatric Therapy Matters
Early intervention can make a big difference in a child’s development. Pediatric therapy helps children:
-
Gain independence in daily activities
-
Build confidence and self-esteem
-
Improve school readiness and participation
-
Enhance social and communication skills
-
Prevent long-term complications by addressing delays early
How Parents Can Support the Process
Therapy works best when parents and caregivers are actively involved. Here are a few ways you can help your child succeed:
-
Practice therapy activities at home.
-
Celebrate small achievements along the way.
-
Stay in touch with your child’s therapy team to track progress.
-
Be patient—progress may take time, but every step forward is meaningful.
Bottom line: Pediatric therapy is about more than exercises and treatments—it’s about empowering children to thrive in their own unique way. With the right support, every child has the potential to reach their fullest abilities.
Total Sports Therapy is now offering pediatric therapy at our Moon Valley location.
How to Build a Workout Routine That Actually Works
If you’ve ever started a workout plan only to give up after a few weeks, you’re not alone. The key to long-term success isn’t just motivation—it’s building a workout routine that actually fits your life, goals, and body. Here’s how to do it.
1. Define Your Goals
Before you even step into the gym, ask yourself: What am I working toward?
-
Weight loss → Focus on calorie-burning workouts like strength + cardio.
-
Muscle building → Prioritize resistance training with progressive overload.
-
General fitness & health → A balanced mix of cardio, strength, and mobility.
Clear goals keep you motivated and help you measure progress.
2. Be Realistic About Time
It’s better to commit to 3 workouts a week consistently than aim for 6 and burn out. Look at your schedule and set a realistic plan you can stick to long-term.
3. Include the Essentials
A great routine covers all the bases:
-
Strength Training (2–4x/week) → Build muscle, increase metabolism, and protect joints.
-
Cardio (2–3x/week) → Support heart health, burn calories, and improve endurance.
-
Mobility & Flexibility (daily or warm-up/cool-down) → Reduce injury risk and keep your body moving well.
4. Use Progression
Your body adapts over time. To see results, you’ll need to:
-
Increase weights (progressive overload).
-
Add sets or reps.
-
Challenge yourself with new variations.
Progress doesn’t mean crushing yourself every workout—it means gradual improvement.
5. Prioritize Recovery
More is not always better. Without recovery, your muscles can’t grow, and your risk of injury skyrockets. Schedule rest days and get enough sleep to maximize results.
6. Track Your Progress
Keep a log of your workouts, reps, and weights—or use an app or fitness tracker. Progress is motivating, and seeing improvements helps you stay consistent.
The Bottom Line
The best workout routine isn’t the trendiest or the hardest—it’s the one you can stick to. Start simple, stay consistent, and make adjustments as you grow stronger. Over time, those small, consistent efforts turn into big results.
Foam Rolling: Benefits and Techniques
If you’ve ever seen people at the gym rolling around on long foam cylinders, you might have wondered: what exactly are they doing? That’s foam rolling, also known as self-myofascial release—a simple but powerful technique to improve flexibility, reduce muscle soreness, and keep your body moving at its best.
Let’s break down the benefits of foam rolling and some easy techniques you can try today.
What Is Foam Rolling?
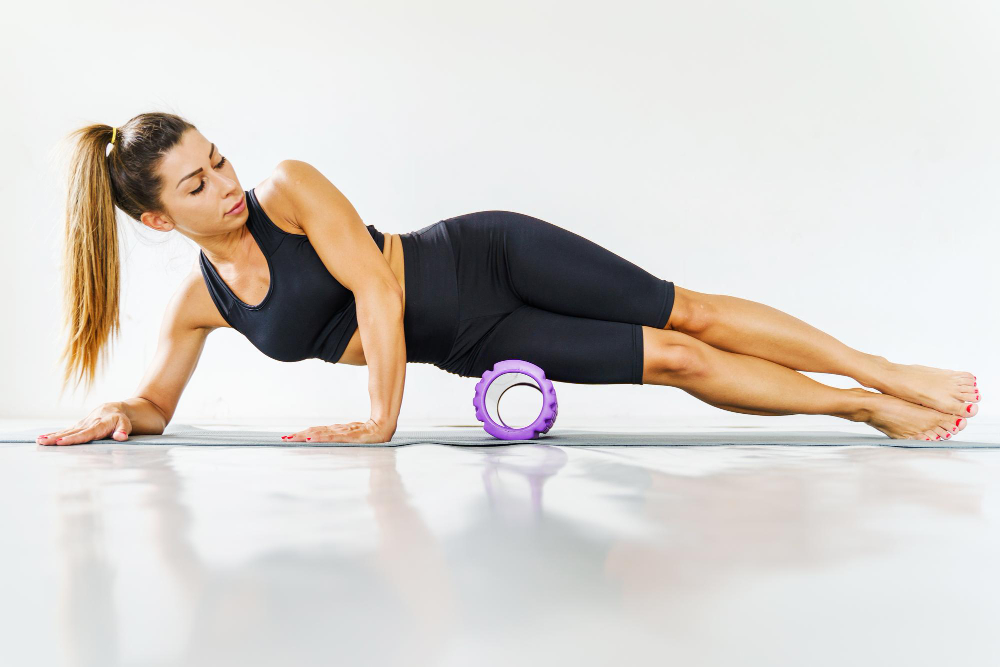
Foam rolling uses your own body weight and a foam roller to apply pressure to muscles and connective tissues. Think of it as a form of self-massage. By rolling slowly over specific muscle groups, you can release tension, increase blood flow, and help your muscles recover after workouts.
Benefits of Foam Rolling
1. Reduces Muscle Soreness
Foam rolling can decrease delayed onset muscle soreness (DOMS), helping you recover faster after exercise.
2. Improves Flexibility & Range of Motion
By loosening tight tissues, foam rolling helps your joints move more freely—making stretching and activity easier.
3. Enhances Blood Flow & Circulation
The pressure stimulates circulation, delivering oxygen and nutrients to muscles for faster healing.
4. Relieves Tension & Tightness
Common problem areas like the calves, quads, IT band, and upper back often feel looser after rolling.
5. Supports Injury Prevention
Regular foam rolling can correct muscle imbalances, reduce strain, and improve overall movement patterns.
Foam Rolling Techniques
Here are some simple ways to get started. For each, roll slowly (about 1 inch per second), pausing on tender spots for 20–30 seconds. Aim for 1–2 minutes per muscle group.
1. Calves
Sit with your legs extended and roller under your calves. Use your arms to lift slightly and roll from ankles to knees. Cross one leg over the other for more pressure.
2. Quads
Lie face down with the roller under your thighs. Roll from hips to just above your knees. Shift side to side to hit different angles.
3. Hamstrings
Sit with the roller under your thighs. Roll from the back of your knees up to your glutes.
4. Glutes
Sit on the roller, cross one ankle over the opposite knee, and lean slightly into the glute of the crossed leg. Roll slowly back and forth.
5. Upper Back
Lie with the roller under your shoulder blades. Cross arms over your chest, lift your hips, and roll from mid-back to shoulders (avoid the lower back).
6. IT Band (Outer Thigh)
Lie on your side with the roller under your outer thigh. Roll from hip to knee. This area can be sensitive—start gently.
Foam Rolling Tips
-
Roll after workouts for recovery, or before workouts to loosen tight muscles.
-
Avoid rolling directly on joints or bones.
-
Discomfort is normal, but stop if you feel sharp or intense pain.
-
Consistency is key—just a few minutes a day can make a big difference.
Final Thoughts
Foam rolling is a simple, inexpensive, and highly effective way to keep your body flexible, reduce soreness, and prevent injuries. Whether you’re an athlete, desk worker, or just trying to stay active, adding foam rolling to your routine can help you feel and move better.
Your muscles will thank you.
What Causes Plantar Fasciitis And How To Treat It
If you’ve ever felt a sharp pain in your heel when you take your first steps in the morning, you might be experiencing plantar fasciitis. This common condition affects millions of people each year and can significantly impact daily activities. Understanding the causes and treatment options is essential to finding relief and preventing recurrence.
What Is Plantar Fasciitis?
Plantar fasciitis is the inflammation of the plantar fascia, a thick band of tissue that runs along the bottom of your foot, connecting your heel bone to your toes. It supports the arch of the foot and absorbs shock when you walk. When this tissue is overstressed or strained, it can become inflamed, leading to heel pain.
Common Causes of Plantar Fasciitis
Several factors can contribute to the development of plantar fasciitis, including:
1. Overuse or Repetitive Strain
High-impact activities like running, jumping, or standing for long periods can stress the plantar fascia, leading to tiny tears and inflammation.
2. Foot Mechanics
Flat feet, high arches, or an abnormal walking pattern can alter weight distribution and put extra strain on the plantar fascia.
3. Improper Footwear
Wearing unsupportive shoes, especially those with thin soles, poor arch support, or lack of cushioning, can increase your risk.
4. Age
Plantar fasciitis is most common in people between the ages of 40 and 60 due to natural changes in foot structure and reduced tissue elasticity.
5. Weight Gain
Excess weight increases the pressure on your plantar fascia, particularly during weight-bearing activities.
Symptoms of Plantar Fasciitis
-
Sharp pain in the heel (especially with the first steps after waking)
-
Pain after prolonged standing or activity
-
Stiffness or tenderness in the arch of the foot
-
Pain that improves with movement but returns after rest
Effective Treatments for Plantar Fasciitis
The good news is that most cases of plantar fasciitis can be managed with conservative treatments. Here are some of the most effective options:
1. Rest and Activity Modification
Reducing or modifying activities that aggravate your foot can help the tissue heal. Avoid running, jumping, or standing for extended periods.
2. Ice Therapy
Applying ice to the heel for 15-20 minutes several times a day can reduce inflammation and relieve pain.
3. Stretching and Strengthening Exercises
Stretching the calf muscles and plantar fascia helps relieve tension. Strengthening foot muscles can also provide better arch support.
4. Supportive Footwear and Orthotics
Wear shoes with good arch support and cushioning. Custom orthotic inserts can redistribute pressure and support proper foot mechanics.
5. Physical Therapy
A physical therapist can develop a tailored exercise and treatment plan, including techniques like massage, taping, and ultrasound therapy.
6. Anti-Inflammatory Medications
Over-the-counter NSAIDs like ibuprofen can reduce pain and inflammation during flare-ups.
7. Night Splints
Wearing a night splint keeps the plantar fascia stretched overnight, preventing morning pain.
8. Medical Interventions
In chronic or severe cases, options like corticosteroid injections, shockwave therapy, or even surgery may be considered, although these are usually last resorts.
Preventing Plantar Fasciitis
To minimize the risk of plantar fasciitis:
-
Maintain a healthy weight
-
Wear supportive shoes, especially during exercise
-
Stretch regularly, particularly before and after physical activity
-
Avoid walking barefoot on hard surfaces
Final Thoughts
Plantar fasciitis can be frustrating and painful, but with early intervention and the right treatment approach, most people recover fully without surgery. If you're experiencing persistent heel pain, don't ignore it—addressing the issue early can get you back on your feet faster and with less discomfort.
How Can Physical Therapy Treat Ehlers-Danlos Syndrome?
Ehlers-Danlos Syndrome (EDS) is a group of connective tissue disorders that affect the body’s collagen, often leading to joint hypermobility, unstable joints, frequent sprains, chronic pain, and muscle weakness. While there is currently no cure for EDS, physical therapy plays a key role in helping people manage symptoms, improve strength, and protect their joints for long-term function.
Why Physical Therapy Helps with EDS
People with EDS often experience joint instability because the connective tissue that supports their ligaments is looser than normal. This makes everyday movements more challenging and increases the risk of injuries. Physical therapy focuses on building stability, improving posture, and teaching safe movement strategies that reduce strain on joints.
Physical Therapy Goals for EDS
-
Strengthening Muscles for Joint Support
Since ligaments are not as effective at stabilizing joints in EDS, strengthening the muscles around those joints is essential. Targeted exercises for the hips, shoulders, knees, and core can reduce dislocations and improve overall stability. -
Improving Posture & Movement Mechanics
Poor posture and improper movement patterns put extra stress on already vulnerable joints. A physical therapist can correct biomechanics to reduce strain and help patients move more safely in daily activities. -
Pain Management
Chronic pain is common in EDS. Physical therapy may include gentle strengthening, manual therapy, or modalities like heat, cold, or electrical stimulation to ease discomfort while building function. -
Low-Impact Endurance Training
Activities like swimming, stationary cycling, or walking programs may be recommended. These forms of exercise are easier on the joints while still improving cardiovascular health and endurance. -
Joint Protection Education
A critical part of therapy is teaching patients how to avoid overstretching, limit repetitive stress, and use supportive devices (braces, kinesiology tape, or orthotics) when necessary. -
Balance and Proprioception Training
Because joint position sense may be impaired in EDS, exercises to improve balance and coordination are especially helpful in preventing falls and injuries.
A Gentle, Consistent Approach
One of the most important things to remember with EDS is that progress takes time. Overexertion can lead to flares of pain or injury, so a gradual, carefully monitored program designed by a physical therapist is essential. With patience and consistency, physical therapy helps individuals with EDS improve strength, reduce injury risk, and live more comfortably.
Bottom line: While Ehlers-Danlos Syndrome cannot be cured, physical therapy is a cornerstone of care. By strengthening muscles, teaching safe movement, and managing pain, PT helps people with EDS gain more stability, function, and confidence in their daily lives. Total Sports Therapy has physical therapists that treat Ehlers-Danlos Syndrome. Contact our office at 480-272-7140 to schedule your appointment.
Why Posture Matters for Pain Relief
When you think of pain relief, posture might not be the first thing that comes to mind. But the way you hold your body—whether you’re sitting, standing, or moving—has a huge impact on how you feel. Good posture is more than just “standing up straight.” It’s about aligning your body so your muscles, joints, and spine can work efficiently without unnecessary strain.
How Poor Posture Causes Pain
Poor posture changes the way your muscles and joints bear weight, which can create uneven pressure and tension. Over time, this can lead to:
-
Neck and shoulder pain from forward head posture or rounded shoulders.
-
Lower back pain from slouching or excessive arching.
-
Headaches caused by muscle tension in the neck and upper back.
-
Joint stress that accelerates wear and tear.
Even small misalignments—like leaning toward your laptop or looking down at your phone—can, over time, create big problems.
The Benefits of Good Posture
Improving your posture can help:
-
Reduce muscle fatigue by allowing your body to move more efficiently.
-
Ease pain and stiffness in your back, neck, and shoulders.
-
Improve breathing and circulation by giving your lungs and heart more room to function.
-
Support better balance and coordination, which reduces fall risk.
Simple Ways to Improve Your Posture
You don’t have to be perfect—small, consistent changes can make a big difference. Try these tips:
-
Set up your workstation ergonomically – Monitor at eye level, feet flat, elbows close to 90 degrees.
-
Take movement breaks – Stand, stretch, or walk every 30–60 minutes.
-
Strengthen your core – A strong core supports better spinal alignment.
-
Check your alignment – Imagine a string pulling the top of your head upward to lengthen your spine.
-
Be mindful with devices – Bring your phone or tablet to eye level instead of bending your neck down.
When to Seek Help
If you’ve had ongoing pain, or if changing your posture feels difficult, a physical therapist can assess your movement, identify problem areas, and create a plan to retrain your posture. With guided exercises, stretches, and ergonomic advice, you can reduce strain and help your body move the way it was designed to.
Posture isn’t just about looking confident—it’s a key factor in preventing and relieving pain. By making posture awareness a part of your daily routine, you can protect your joints, move more easily, and feel your best.
Ice or Heat? How to Choose the Right Therapy for Injury and Pain
When you're dealing with pain, swelling, or stiffness, it's common to wonder:
“Should I use ice or heat?”
Both cold and heat therapies can be effective tools for pain relief and healing—but knowing when to use each makes a big difference in your recovery. Let’s break it down so you can make the right call.
When to Use Ice Therapy (Cold Therapy)
Cold therapy works by constricting blood vessels, which helps reduce blood flow to an injured area. This process minimizes swelling and inflammation while numbing the tissue to decrease pain.
Best for:
-
Acute injuries (within 48–72 hours)
-
Swelling or bruising
-
Sprains and strains
-
Tendonitis flare-ups
-
Post-workout soreness (after intense activity)
How to apply:
-
Use an ice pack wrapped in a towel (never directly on skin).
-
Apply for 15–20 minutes at a time.
-
Rest the area between sessions—about 1–2 hours apart.
Pro Tip: Use cold therapy immediately after an injury to reduce inflammation and minimize tissue damage.
When to Use Heat Therapy
Heat therapy promotes blood flow and helps relax muscles, making it great for soothing stiffness and chronic aches. It also preps your body for movement by loosening up tight tissue.
Best for:
-
Chronic pain (like arthritis or old injuries)
-
Muscle tightness and spasms
-
Stiff joints
-
Warming up before physical therapy or exercise
How to apply:
-
Use a warm towel, heating pad, or hot water bottle.
-
Apply for 15–20 minutes at a time.
-
Avoid using heat on areas that are swollen or inflamed.
Pro Tip: Use heat before activity to loosen muscles, and ice after activity to reduce inflammation if needed.
What to Avoid
-
Don’t use heat on a fresh injury—it can make swelling worse.
-
Don’t ice stiff muscles long-term—it may slow circulation and healing.
-
Never fall asleep with a heating pad or ice pack on your body.
-
Always use a barrier (like a towel) between the ice/heat and your skin.
When in Doubt, Ask Your Physical Therapist
While ice and heat are both powerful self-care tools, they’re not one-size-fits-all. Your physical therapist can help you choose the right approach based on your condition, stage of healing, and goals.
At our clinic, we use both modalities strategically as part of a personalized treatment plan—so you heal faster and get back to doing what you love.
Ready to feel better and move better?
Call us today to schedule your evaluation and let’s create your recovery plan together.
What Is Hip Osteoarthritis? A Guide to Understanding and Managing This Common Condition
If you've been experiencing stiffness, pain, or limited movement in your hip, you may be dealing with hip osteoarthritis—a common joint condition that affects millions of people, especially as they age. But what exactly is hip osteoarthritis, and how can physical therapy help manage it?
We’ll break down the causes, symptoms, and treatment options for hip OA—and explain how physical therapy can help you stay active and independent.
What Is Hip Osteoarthritis?
Osteoarthritis (OA) is a degenerative joint disease that occurs when the protective cartilage that cushions the ends of your bones gradually wears down over time. In the hip joint, this can lead to:
-
Pain
-
Stiffness
-
Swelling
-
Reduced range of motion
As the cartilage deteriorates, bones may rub against each other, causing inflammation, joint damage, and discomfort during movement.
Causes and Risk Factors
Hip OA usually develops gradually and is more common in people over the age of 50, but younger adults can also develop it, especially after an injury or due to structural abnormalities.
Common causes and risk factors include:
-
Aging and natural wear and tear
-
Previous hip injuries
-
Genetics or family history of OA
-
Obesity (extra weight puts more stress on joints)
-
Repetitive movements or physical labor
-
Poor hip alignment or hip dysplasia
Common Symptoms of Hip Osteoarthritis
-
Aching or sharp pain in the hip, groin, thigh, or buttock
-
Stiffness, especially after sitting or sleeping
-
Difficulty walking, standing, or climbing stairs
-
Clicking, popping, or grinding in the joint
-
Limited range of motion
-
Pain that worsens with activity and improves with rest
Symptoms may start mild and progress over time. Many people find they begin adjusting their lifestyle without realizing how much mobility they’ve lost.
How Is Hip Osteoarthritis Diagnosed?
A healthcare provider will review your symptoms and perform a physical exam, checking your range of motion, gait, and joint tenderness. Imaging tests like X-rays may be used to confirm cartilage loss or changes in the joint space.
How Physical Therapy Helps Hip OA
There’s no cure for osteoarthritis, but physical therapy is one of the most effective, non-surgical ways to manage symptoms and slow progression. A physical therapist can help you:
Reduce Pain
Hands-on techniques and gentle exercises help relieve joint stress and calm inflammation.
Improve Range of Motion
Targeted stretches and mobilizations restore movement to the hip, making daily tasks easier.
Strengthen Supporting Muscles
Stronger muscles—especially around the hips, glutes, and core—can take pressure off the joint and improve stability.
Improve Balance and Gait
PT can correct movement patterns and reduce limping or imbalance, making walking more efficient and less painful.
Delay or Prevent Surgery
Consistent physical therapy can preserve joint function and help many people avoid or delay the need for a hip replacement.
What to Expect in a PT Program for Hip OA
Your physical therapy plan will be tailored to your needs and may include:
-
Range-of-motion exercises
-
Strength training (bodyweight, resistance bands)
-
Postural training
-
Manual therapy
-
Low-impact aerobic exercise (walking, cycling, aquatic therapy)
-
Education on joint protection and home modifications
Final Thoughts
Hip osteoarthritis can be a frustrating and limiting condition—but it doesn’t have to define your life. With the right guidance and a consistent approach, physical therapy can help you manage pain, improve mobility, and stay active for years to come.
If you or someone you love is dealing with hip pain or stiffness, contact our office at 480-272-7140. Early intervention makes all the difference.
Let’s keep you moving—stronger, longer, and pain-free.
How Physical Therapy Can Help You Avoid Surgery
When facing pain, injury, or limited mobility, many people think surgery is the only solution. But what if there was a less invasive, more natural option to help you heal?


