Foam Rolling: Benefits and Techniques
If you’ve ever seen people at the gym rolling around on long foam cylinders, you might have wondered: what exactly are they doing? That’s foam rolling, also known as self-myofascial release—a simple but powerful technique to improve flexibility, reduce muscle soreness, and keep your body moving at its best.
Let’s break down the benefits of foam rolling and some easy techniques you can try today.
What Is Foam Rolling?
Foam rolling uses your own body weight and a foam roller to apply pressure to muscles and connective tissues. Think of it as a form of self-massage. By rolling slowly over specific muscle groups, you can release tension, increase blood flow, and help your muscles recover after workouts.
Benefits of Foam Rolling
1. Reduces Muscle Soreness
Foam rolling can decrease delayed onset muscle soreness (DOMS), helping you recover faster after exercise.
2. Improves Flexibility & Range of Motion
By loosening tight tissues, foam rolling helps your joints move more freely—making stretching and activity easier.
3. Enhances Blood Flow & Circulation
The pressure stimulates circulation, delivering oxygen and nutrients to muscles for faster healing.
4. Relieves Tension & Tightness
Common problem areas like the calves, quads, IT band, and upper back often feel looser after rolling.
5. Supports Injury Prevention
Regular foam rolling can correct muscle imbalances, reduce strain, and improve overall movement patterns.
Foam Rolling Techniques
Here are some simple ways to get started. For each, roll slowly (about 1 inch per second), pausing on tender spots for 20–30 seconds. Aim for 1–2 minutes per muscle group.
1. Calves
Sit with your legs extended and roller under your calves. Use your arms to lift slightly and roll from ankles to knees. Cross one leg over the other for more pressure.
2. Quads
Lie face down with the roller under your thighs. Roll from hips to just above your knees. Shift side to side to hit different angles.
3. Hamstrings
Sit with the roller under your thighs. Roll from the back of your knees up to your glutes.
4. Glutes
Sit on the roller, cross one ankle over the opposite knee, and lean slightly into the glute of the crossed leg. Roll slowly back and forth.
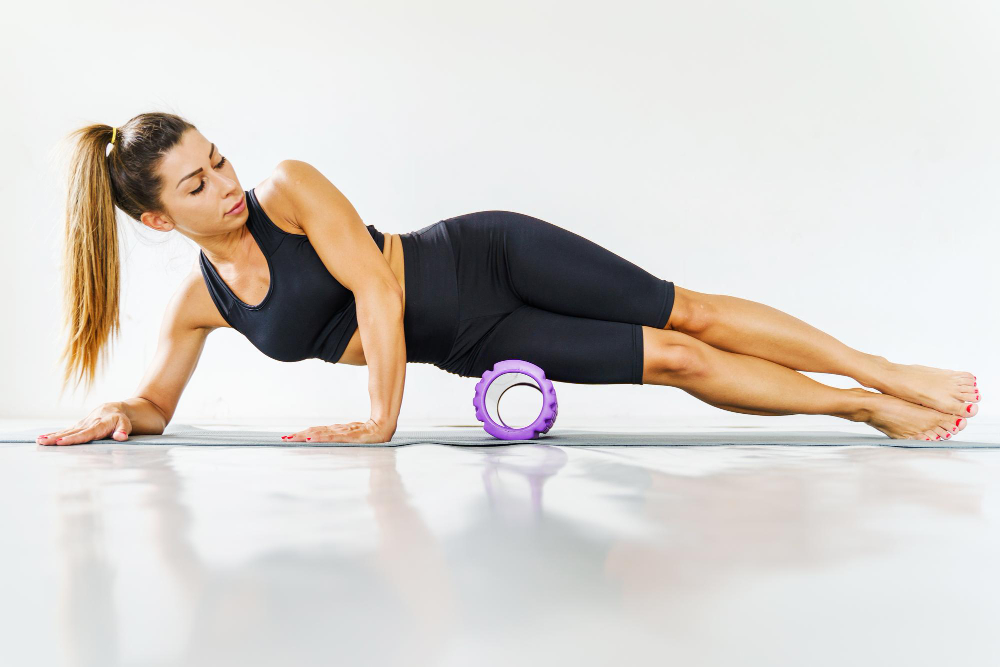
5. Upper Back
Lie with the roller under your shoulder blades. Cross arms over your chest, lift your hips, and roll from mid-back to shoulders (avoid the lower back).
6. IT Band (Outer Thigh)
Lie on your side with the roller under your outer thigh. Roll from hip to knee. This area can be sensitive—start gently.
Foam Rolling Tips
-
Roll after workouts for recovery, or before workouts to loosen tight muscles.
-
Avoid rolling directly on joints or bones.
-
Discomfort is normal, but stop if you feel sharp or intense pain.
-
Consistency is key—just a few minutes a day can make a big difference.
Final Thoughts
Foam rolling is a simple, inexpensive, and highly effective way to keep your body flexible, reduce soreness, and prevent injuries. Whether you’re an athlete, desk worker, or just trying to stay active, adding foam rolling to your routine can help you feel and move better.
Your muscles will thank you.