The Best Exercise Program for People Over 50: A Complete Guide to Health, Strength & Longevity
Growing older doesn’t mean slowing down, it means being smarter about how you move. For people over 50, a well-rounded exercise program isn’t just about staying fit; it’s about supporting heart health, boosting energy, preserving independence, and improving quality of life.
Whether you’re just starting out or returning to fitness, here’s how to build a safe, effective routine that works.
Why Exercise Matters After 50
As we age, our bodies naturally undergo changes that affect muscle mass, metabolism, bone density, balance, and flexibility. Without regular activity, these changes can accelerate, leading to weakness, loss of mobility, and increased risk of chronic disease.
But the good news is this, exercise is one of the most powerful tools for aging well.
Studies show that regular movement can:
-
Reduce risk of heart disease, diabetes, and cancer
-
Improve bone strength and prevent osteoporosis
-
Boost metabolism and help maintain healthy weight
-
Increase balance and reduce fall risk
-
Improve mood, sleep, and brain function
Key Components of a Well-Rounded Program
The best exercise plan for people over 50 includes multiple types of movement, not just treadmill time. Here’s what to focus on:
1. Aerobic (Cardio) Exercise
Cardio benefits heart and lung health.
Examples:
-
Walking (especially brisk walking)
-
Cycling
-
Swimming or water aerobics
-
Dancing
-
Hiking
Goal:
At least 150 minutes of moderate aerobic activity per week (e.g., 30 minutes, 5 days a week).
If 30 minutes is too much at first, break it into shorter 10- or 15-minute sessions.
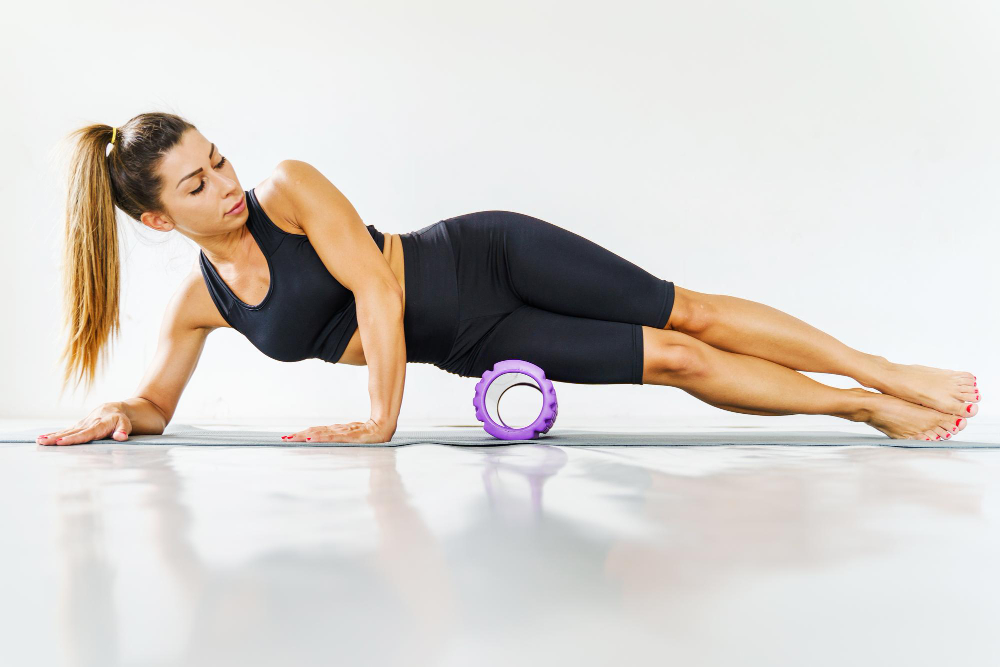
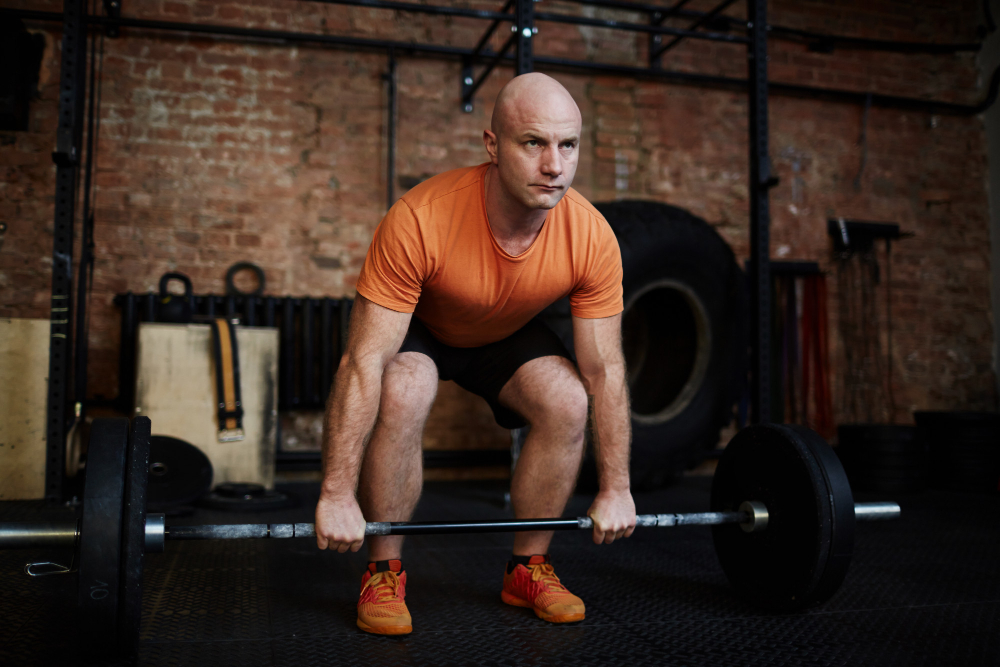
2. Strength Training (2–3 Days/Week)
After age 50, we lose muscle naturally, unless we build it.
Strength training helps:
-
Preserve lean muscle
-
Boost metabolism
-
Improve posture and balance
-
Support daily activities
Try:
-
Bodyweight exercises (squats, push-ups, bridges)
-
Resistance bands
-
Dumbbells or machines
Key Moves to Include:
-
Squats or sit-to-stand
-
Rows or reverse flys
-
Chest press
-
Deadlifts or hip hinges
-
Planks or core stabilization
Start with 1–2 sets of 8–12 reps and increase gradually.
3. Flexibility & Mobility
Tight muscles and joints can limit movement and cause discomfort.
Try:
-
Yoga
-
Stretching routines
-
Pilates
-
Mobility drills (ankle circles, hip openers)
Aim for at least 10–15 minutes, 3–5 days a week.
4. Balance & Stability
Falling is a major concern for older adults, but balance exercises can help prevent it.
Simple Balance Work:
-
Standing on one leg
-
Heel-to-toe walk
-
Tai chi
-
Stability ball exercises
Aim for brief daily practice.
Sample Weekly Routine (Beginner Friendly)
| Day | Exercise |
|---|---|
| Monday | 30-min brisk walk + 10-min balance work |
| Tuesday | Strength training (full body) |
| Wednesday | 30-min cycling or swim + 15-min stretching |
| Thursday | Rest or gentle yoga |
| Friday | Strength training |
| Saturday | Hike, dance class, or fun cardio |
| Sunday | Mobility + relaxation |
Tips for Success
- Warm up first. 5–10 minutes of light movement prepares your body.
- Listen to your body. A little soreness is normal; sharp pain is not.
- Stay consistent, not intense. Progress builds over time.
- Mix it up. Variety keeps workouts fun and effective.
- Hydrate & nourish. Your body needs fuel to perform and recover.
Modifications for Common Concerns
Joint pain: Favor low-impact options like swimming or cycling.
Osteoporosis risk: Avoid twisting loaded spine movements; emphasize posture and strength.
High blood pressure: Keep strength reps controlled and avoid breath-holding.
“Best” Means Balanced
There’s no one-size-fits-all routine, but the best program for healthy aging combines:
- Cardiovascular fitness
- Strength & muscle preservation
- Flexibility & mobility
- Balance & stability
If you make movement a regular part of your life, you’ll enjoy stronger muscles, sharper thinking, better mood, and more independence, no matter your age.
It is important to consult with a healthcare provider before you start any exercise program. If you have questions about your exercise program contact our offices at 480-272-7140.